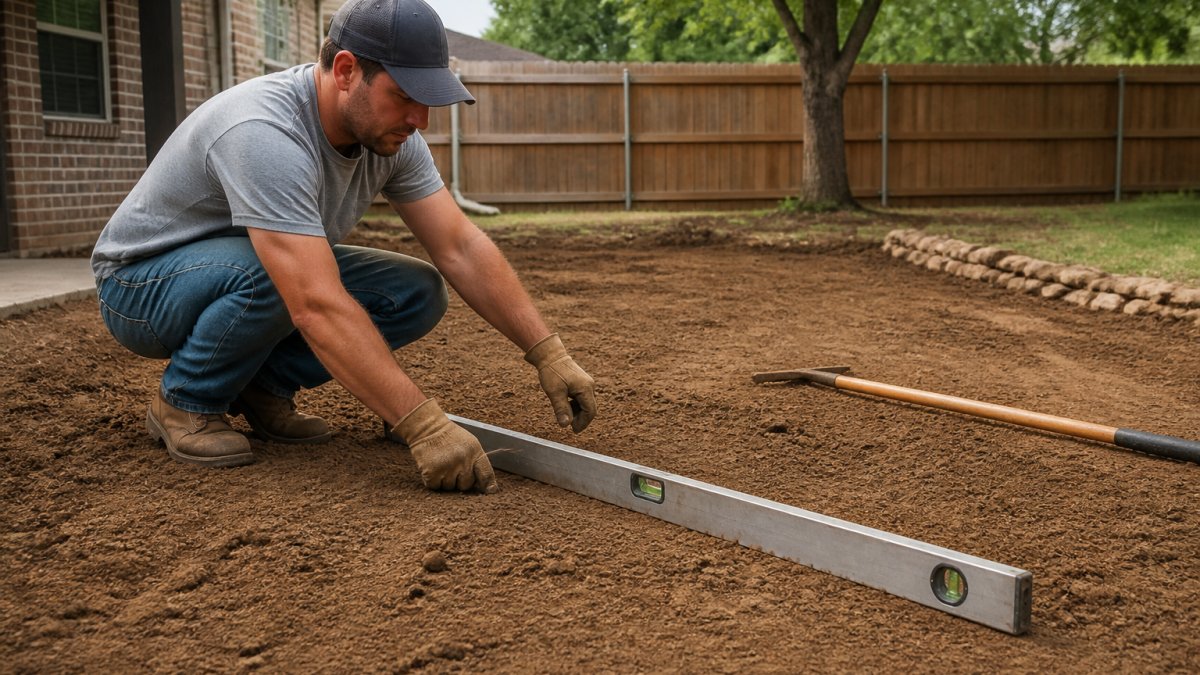
Table of Contents
- Assess Your Yard's Current Drainage Problems
- How Much Slope for Yard Drainage You Actually Need
- Measure and Mark High and Low Points in Your Yard
- Yard Grading Tools You'll Need for the Job
- How to Slope a Yard Away From a House Step-by-Step
- Cost to Regrade a Yard: When to DIY vs. Hire Help
- Verify Your Work and Maintain Proper Drainage
- Frequently Asked Questions
Last Updated: October 19, 2026
Assess Your Yard's Current Drainage Problems
Before you grade a yard for drainage, figure out what's wrong.
Walk your yard after rain. Where does water pool, and does it flow toward your house, driveway, or patio instead of away?
Check for these signs:
- Water pools in low spots for more than a few hours after rain
- Soggy or muddy patches that stay wet for days
- Erosion channels where water runs across the surface
- Moss or algae in wet areas (a sign of constant moisture)
- Basement or crawlspace moisture that correlates with heavy rain
If water flows toward structures instead of away, that's your primary problem.
Not every wet spot needs grading, clay-heavy soil may also need French drains or rain gardens.
How Much Slope for Yard Drainage You Actually Need
The standard recommendation is a 2% slope: the ground drops 2 feet per 100 feet of horizontal distance.
Here's what different slopes do:
- 2% slope (recommended minimum): Water flows steadily away from structures without visible erosion or an unnatural look.
- 5% slope: Water moves faster. Use this for problem areas with clay soil or severe standing water. Too steep, and you'll see runoff channels.
- Steeper than 5%: Water runs off quickly but can cause erosion and washout. Only use this for short distances or specific drainage channels.
Most yards don't need perfect grading, a 2% slope is barely noticeable. Aim for 2% minimum from the foundation or patio outward; beyond 10 feet, the slope can be gentler.
People wrongly think they need a dramatic slope. A subtle, consistent slope works better than steep banks: it looks natural and water distributes evenly instead of rushing in channels.
Measure and Mark High and Low Points in Your Yard
You need to know your current slope before changing it; most DIY projects go wrong because people guess instead of measure. The goal is a simple topo map: where the high ground is, where water wants to go, and how much fall you have.
What you'll need:
- A 25- or 50-foot tape measure
- Wooden stakes (1x2 or 2x2, about 18 inches long), one per measurement point
- Masonry line or braided string
- A line level that clips onto the string
- A 4-foot or 8-foot straightedge (a level board or straight 2x4 works)
Method 1: The stakes-and-string line level (best for mapping a whole yard)
This standard DIY survey technique compares many points against one reference elevation.
- Set a benchmark stake at a known high point, usually against the house foundation or at the top of the yard. Drive it so the top is a few inches above grade.
- Drive a second stake 20 to 30 feet away in the direction you want water to flow.
- Tie the string between the two stakes at roughly the same height above ground on each.
- Clip the line level to the middle of the string and adjust one end up or down until the bubble centers. The string is now perfectly level.
- Measure down from the string to the ground at each stake with the tape. The difference is the fall over that distance.
Worked example: Stakes are 25 feet apart. The string reads 14 inches above ground at the house stake and 8 inches at the far stake, so the far ground is 6 inches lower (14 − 8 = 6).
Another example: From a patio to a discharge point 40 feet away, the string reads 10 inches above grade at the patio and 2 inches at the discharge point.
Method 2: The straightedge-and-level check (best for spot checks)
For a quick read on one line, lay an 8-foot straightedge on the ground, set a 2-foot level on top, and lift the low end until the bubble centers. Measure the gap between the raised end and the ground, then divide by the straightedge length: a 1-inch gap over 8 feet is about 1%; a 2-inch gap is about 2%.
Map at least three lines
A single line tells you almost nothing. Measure at least three lines radiating from the house (front, side, back) plus one along the property line where runoff leaves. Record each on a sketch and mark high and low points with different spray paint colors to see where soil needs cutting and filling.
Yard Grading Tools You'll Need for the Job
Small-scale yard grading doesn't always require heavy equipment, but it does require the right tools.
Hand tools (for small areas under 500 square feet):
- Shovel and spade for moving soil
- Rake for spreading and smoothing
- Wheelbarrow for transport
- Mattock or pickaxe for breaking up compacted soil
Powered equipment (for larger yards or compacted soil):
- Walk-behind power tiller for breaking up existing soil and mixing amendments
- Small skid-steer loader for moving larger volumes of soil
- Plate compactor for settling soil after grading
Measuring and marking tools:
- Long straightedge and level (as described above)
- Measuring tape
- Spray paint for marking reference lines
For most OKC-area yards, hand tools plus a rented walk-behind tiller are enough. Moving more than a few cubic yards or dealing with compacted ground?
You'll need topsoil for the top 2-3 inches (where grass or plants grow) and fill soil or subsoil underneath. At NexGen Dirt & Haul, we handle the heavy lifting.
How to Slope a Yard Away From a House Step-by-Step
Step 1: Remove existing vegetation and surface debris
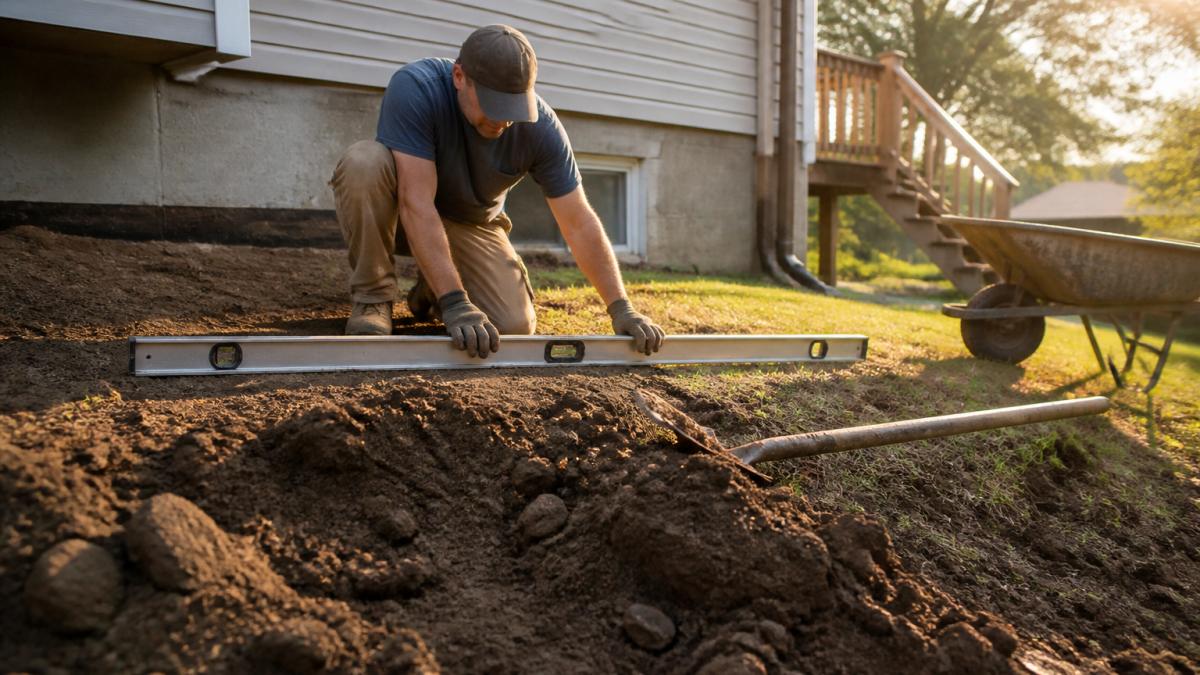
Step 2: Mark your grade line
Use your straightedge and level to establish where the new slope starts and ends.
Step 3: Excavate high spots and move soil to low spots
Using your measurements, identify where to remove soil and where to add it.
Step 4: Till and break up compacted soil
If existing soil is hard or compacted, till it in multiple directions.
Step 5: Add topsoil and amendments
Step 6: Compact and settle the soil
Step 7: Verify your slope
After compacting, check your slope again with the straightedge and level.
Step 8: Seed or sod
Once the slope is correct, seed the area or lay sod.
Cost to Regrade a Yard: When to DIY vs. Hire Help
DIY versus hiring depends on area size, soil conditions, and your physical capacity. But first you need to know how much soil you're moving, because that number drives everything else.
Calculate your fill volume first
Use this simple formula for each area you plan to regrade:
Volume (cubic yards) = Area (square feet) × Average depth of change (feet) ÷ 27
The 27 converts cubic feet to cubic yards, which is how soil is sold and delivered.
Worked example 1, raising a low corner: A 20-foot by 30-foot area (600 square feet) needs to come up an average of 6 inches (0.5 feet).
Worked example 2, building a 2% slope across a 1,000-square-foot lawn: If one edge rises 1 foot and the other stays put, the average change is 0.5 feet.
Add 10 to 15 percent for settling and spillage: loose delivered soil shrinks once compacted in place.
Choose the right material
- Fill dirt or subsoil goes underneath. It is cheap but can contain clay, rocks, and organic matter. Use it for the bottom 6 inches or more of any lift.
- Screened topsoil goes on top, 2 to 4 inches deep, where grass or plants will grow. Don't try to grow turf directly in fill dirt.
- Compost or soil amendments are blended into the top layer to improve structure and drainage. A common ratio is one part compost to three or four parts topsoil.
- Avoid fill that is mostly clay if you are trying to improve drainage. Clay fill holds water and can undo the grade you just built.
Plan delivery, equipment, and labor
- Delivery: Soil is sold by the cubic yard and delivered by dump truck. A tandem-axle truck carries roughly 10 to 14 cubic yards; a single-axle about 5 to 7. For 18 cubic yards, plan two deliveries or one larger truck, and ask whether it can dump close to the work area, a long wheelbarrow haul changes the labor math fast.
- Equipment: Under about 10 cubic yards with a short haul, hand tools and a wheelbarrow are realistic. For 10 to 30 cubic yards, a rented walk-behind power wheelbarrow or small skid-steer loader saves days. For compacted clay, add a walk-behind tiller.
- Labor: One person with a wheelbarrow moves roughly 1 to 2 cubic yards per day over a short distance, so a 20-cubic-yard project is a multi-weekend solo job or a one- to two-day job with equipment and a helper.
DIY vs. hire: a practical split
DIY works if:
- You are moving less than about 10 cubic yards
- The haul distance from the soil pile to the work area is short
- The existing soil is not heavily compacted clay
- You can spread the work over several weekends
Hire help if:
- You are moving more than about 20 cubic yards
- The yard has compacted clay, significant elevation change, or poor access for a truck
- You need soil delivered and spread in one operation
- Drainage issues are severe, involve utilities, or could send runoff onto a neighbor's property
- You want the work done in a day or two instead of weeks
For larger projects, professional yard grading is typically priced by area size, soil type, and materials. Get a clear quote based on your measured volume rather than a guess. If handling it yourself, measure carefully, order soil in stages, and keep topsoil and fill separate on site.
Verify Your Work and Maintain Proper Drainage
After you've graded the yard, the real test comes with the next heavy rain.
Walk your yard during or right after rain.
Mark problem areas with spray paint and adjust while the soil is still soft, once grass grows in, it's much harder to regrade.
Long-term maintenance keeps your grading working:
- Clean gutters and downspouts regularly, direct water away from the foundation, not into low spots you just fixed
- Rake leaves and debris off the slope so water flows freely
- Reseed bare spots where erosion creates channels
- Monitor after heavy rain, if water starts pooling again, your soil may have settled unevenly
Proper yard grading for drainage isn't a one-time fix.
Yard drainage problems are fixable, but they take planning and the right approach.
Frequently Asked Questions
How do you grade a yard for proper drainage?
Start by identifying low spots where water pools. Mark your high and low points using a level and string line. Calculate the slope you need (typically 2-5% grade). Remove or add soil to create a downward slope away from structures like your house or patio. Compact the soil in layers and blend topsoil on top. Test after rain to confirm water flows away from foundations and structures.
Is 1% slope enough for yard drainage?
No. A 1% slope is too shallow for effective surface drainage in most residential yards. Aim for at least 2% slope (2 feet of drop per 100 feet of distance) for adequate water runoff. A 5% slope provides even better drainage, especially in areas with heavy clay soil or frequent rain. Steeper slopes work better but may affect usability of the yard.
What yard grading tools do I need to get started?
You'll need a long straightedge or string line, a 4-foot level, measuring tape, shovel, wheelbarrow, and a compactor or hand tamper. For larger areas, consider renting a plate compactor. A landscape rake helps smooth topsoil, and marking paint identifies your grade lines. If you're moving significant soil volumes, a small excavator rental may save time and effort.
How much does it cost to regrade a yard?
DIY grading costs depend on soil volume needed and whether you haul material yourself. Professional regrading varies based on yard size, slope complexity, and soil type. For an accurate quote, contact a local service with photos of your property. Many providers, including NexGen Dirt & Haul, offer free estimates via text photo to give you transparent pricing.